Changing text background-color in illustrator

Follow these steps to change the background color of Point Type text without losing its editability.
Step 1. Type a text on the workspace with the Point Type tool.
- Go to Point type tool (T) on toolbar
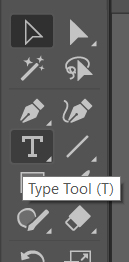
- Click anywhere on the workspace
- Edit text content if you like.
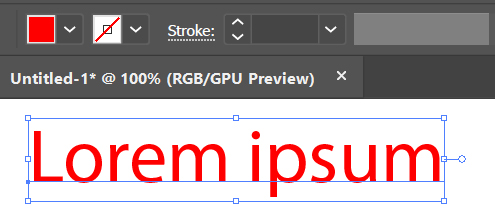
- Change the text color. “Red” is ok.
Step 2. Open the appearance panel.
- elect the text using the Selection Tool (V). A blue bounding box will appear around it. If you don’t see the box, go to View > Show Bounding Box to make it visible.
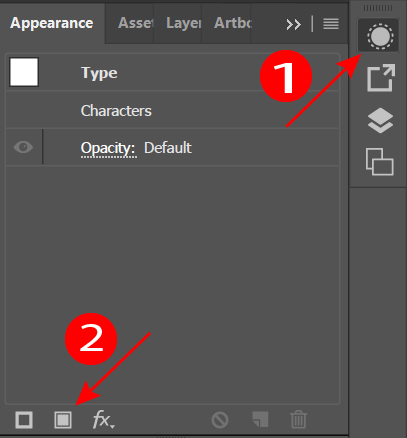
- Open the Apperanace panel (1). Alternatively, you can open it with Window> Apperanace panel. If you’re using a newer version of illustrator, consider changing the workspace. You can change the workspace by clicking the upper right icon.
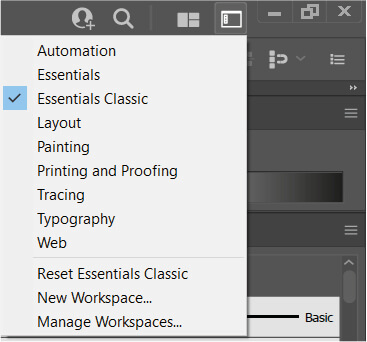
Change workspace
Step 3. Add new fill color
- Click the box (2) at the bottom-left of the Appearance panel to add a new fill color. The new fill appears on top, hiding the original text color — so drag it below to fix the order.
- Drag the new fill color below the Characters line using the left mouse button.
Note: The Characters line provides a second option where you can change the text color. By double-clicking, you can enter the section where you can change the text color while in the appearance panel. After changing the text color, just double-click the Type line at the top to go back.
Step 4. Convert the Fill color to Rectangle
- Add Rectangle effect with Fx at the bottom of the Appearance panel as follows. This effect changes the background color to a rectangle to cover the text.
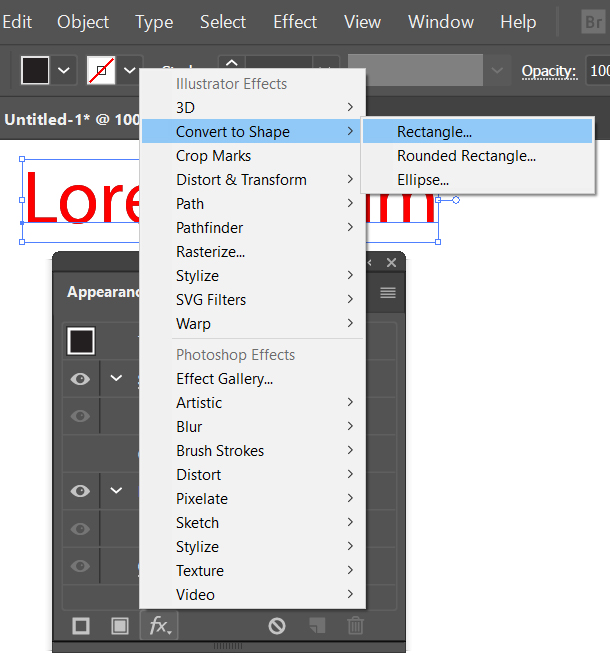
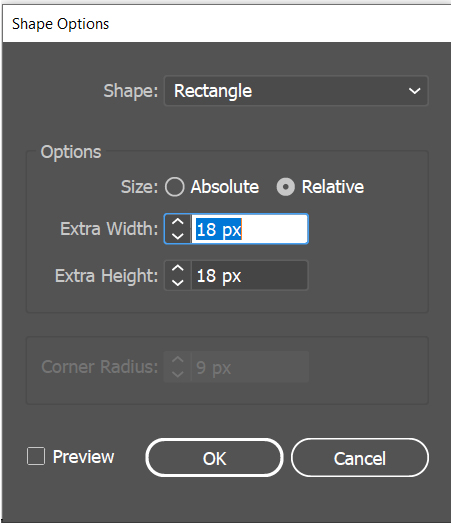
- You can change the values related to the size of the rectangle in the dialog box.
- The Rectangle effect you created may not have occurred where it should be in the appearance panel. In this case, move the effect under the fill color you just created, as shown below.
Now your background color is ready. The text is editable.
have fun.
Akif Kutlu
How to add background color to text in illustrator

