Here you will find instructions about drawing camera aperture symbol using illustrator cc. This is a very accurate and easy way of drawing an aperture icon. Therefore, there is no need to spend more than 2 minutes. Just used illustrator basic tools.
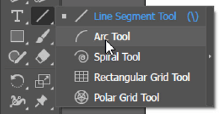
Step 1: Go to the arc tool and click somewhere in the artboard.
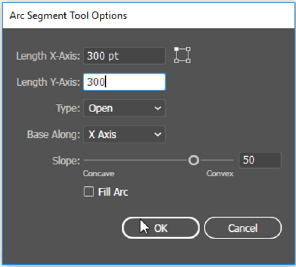
Step 2: Give the X and Y axis values as 300 px and hit ok.
Step 3: Make no fill and 10 pt black stroke for the arc you draw.
Step 4: Go to menu bar and select Effect>Distort&Transform>Transform
Step 5: Using transform panel, make 5 copies with these parameters: 140pt vertical move, Rotate 60°
Step 6: Since it is an effect, first goto Object>expand appearence. After that go to object>expand command. Expand stroke only.
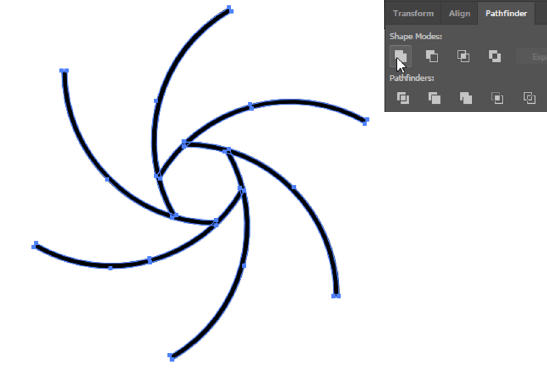
Step 7: While objects are selected, run unite command using pathfinder panel
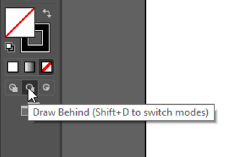
Step 8: Go to tools panel and select draw behind mode.
Step 9: Pick up the ellipse tool and make perfect circle using ALT/OPT + Shift key
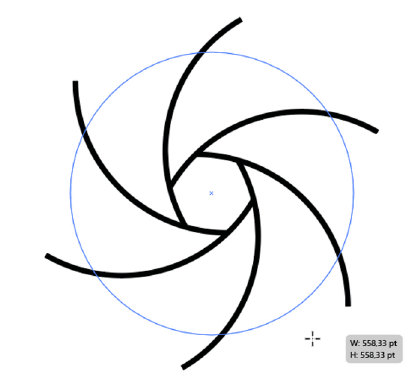
Step 10: Select all objects in the artboard and run minus front command using pathfinder panel
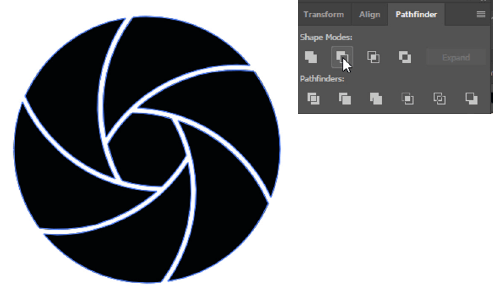
Step 11: ungroup the shutter icon object. Remove the hexagonal shape.
Find two videos here. first one shows how to create shutter icon with straight lines. second is curved ones.


