Here, you will find how to draw an Archimedean spiral in Illustrator. A linear or Archimedes spiral can be drawn using the twist effect. Please follow the instructions to see how to draw a spiral.
Step 1: Create a brand new 1000 X 1000 px artboard.
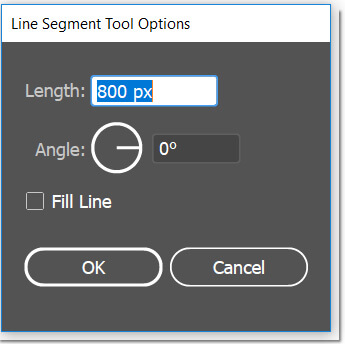
Step 2: Select the Line Segment tool and click anywhere on the artboard. When the dialog box opens, give 800 px length and 0 (zero) degree angle to create a line.
Step 3: Align this line with the artboard. Align horizontally and vertically centered.
Step 4: While the line is selected, go to the menu bar and choose Effect > Distort & Transform > Twist.
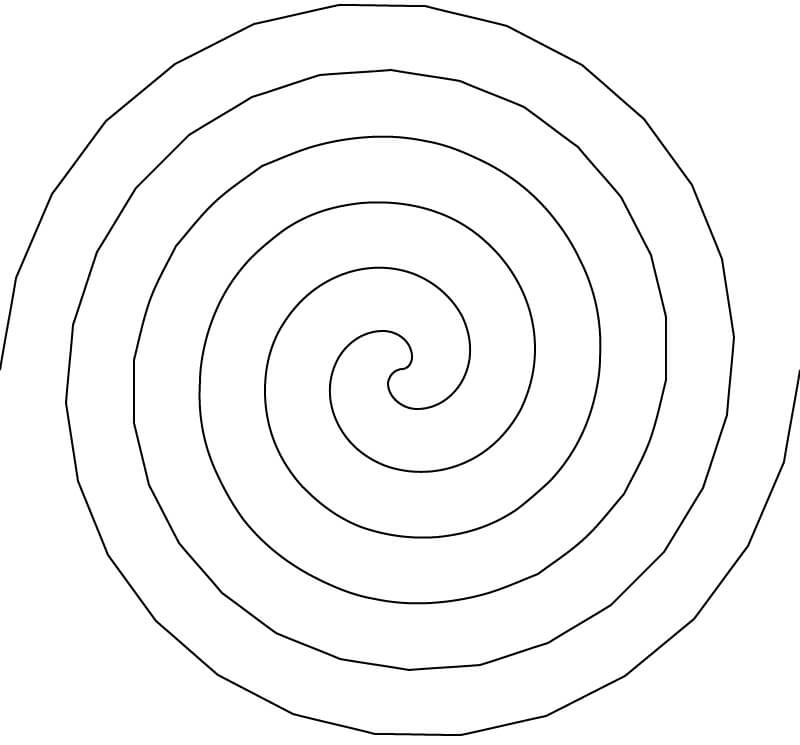
Step 5: In the Twist dialog box, set the angle value to 360 if you want a single turn. if you want 3 turns, set angle value to 360 * 3. And so on.. Here, let’s make 3 turns. And hit ok. Your shape should be like this:
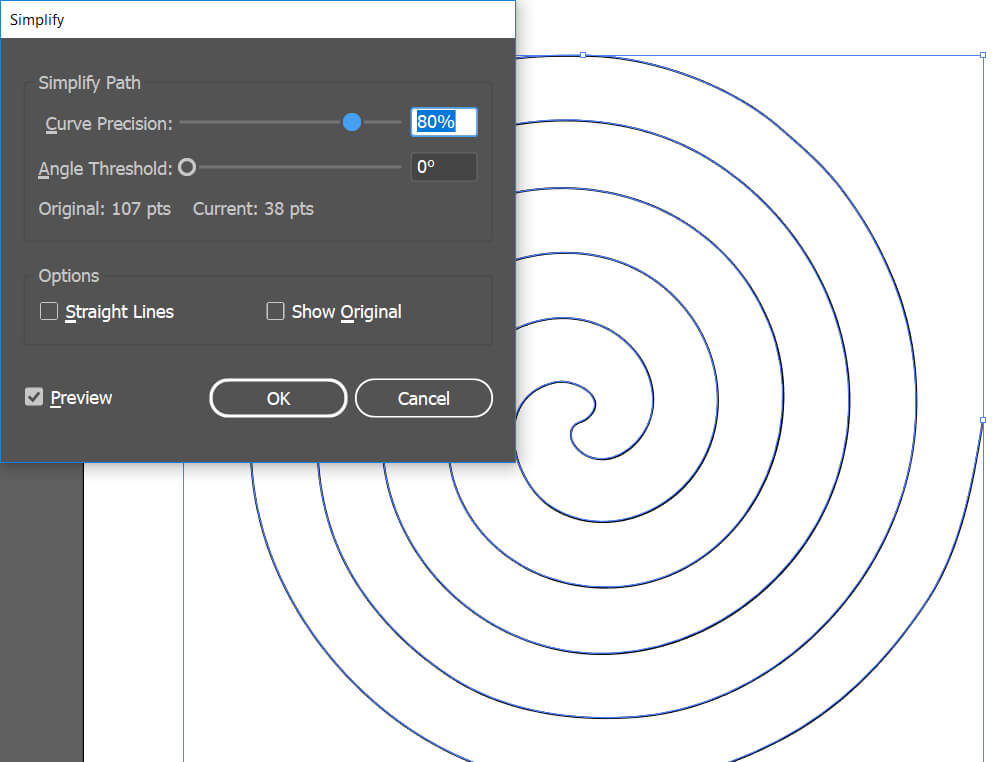
Note that the straight lines of the outer section of the spiral can be smoothed using the Path simplify command. Another way to make smooth lines to give the same effect twice. i.e., instead of making 360 * 4 degrees, apply the twist effect 360 * 2 two times. Anyways, to apply the path simplify command, please follow the instructions below.
<strong>Step 6: First expand your straight line by going to Object > Expand Appearance comma</p></p>
nd.
<strong>Step 7: keep selected the spiral path and use Object > Path > Simplify</stron</s</stro
ng>trong>g&g
t;.
<strong>Step 8: Give curve precision around 80%</strong> check the preview box to see
th
e result. If you are satisfied, hit Ok.
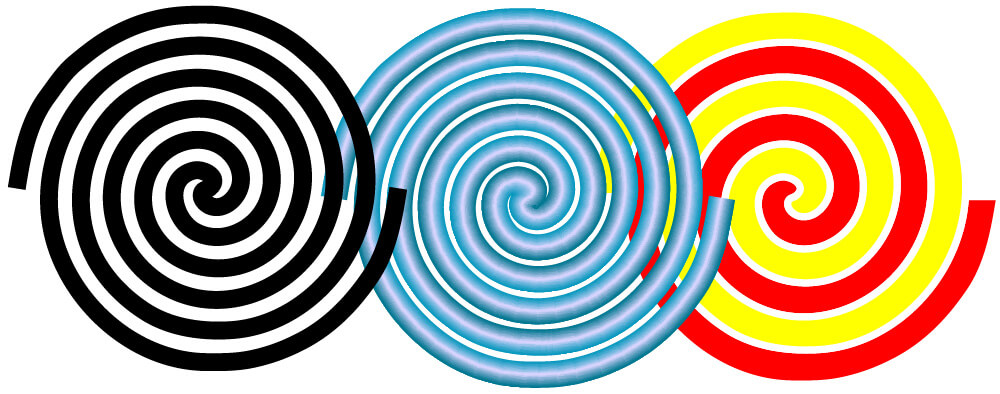
That is it. You can play around it and have different looking shapes the ones like below.