It is not very difficult to draw a bell icon in Illustrator. Here you can find the steps to draw a bell icon. Also, you can watch the youtube video below if you wish. you also find the free bell icon download link below.
Let’s get started.
Step 1. Create a new document
As in many projects, let’s create a new document with “File> new“. Artboard dimensions should be larger than 200 x 200. I also recommend that you turn off the “View> Snap to pixel” feature. Sometimes it can cause problems in catching points or combining objects.
Step 2. Draw a rectangle
- Go to the tools panel.
- Pick up the rectangle tool.
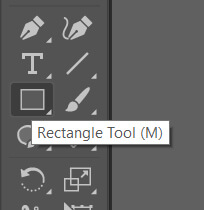
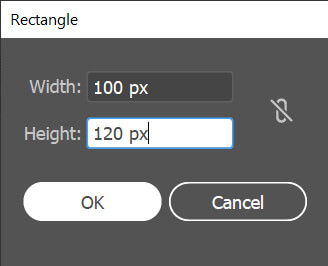
- Go back to the artboard and one-click somewhere. Do not draw on the fly. One-click on the artboard will open the rectangle tool dialog box.
- Type 100 px for the widht and 120 for the heigh
- Hit Ok
- Fill rectangle with black color and remove stroke if any.
Step 3. Form Rectangle for the bell icon
- Pick up the Direct Selection Tool (A) from the tools panel.
- Select the Upper two anchor points of the rectangle
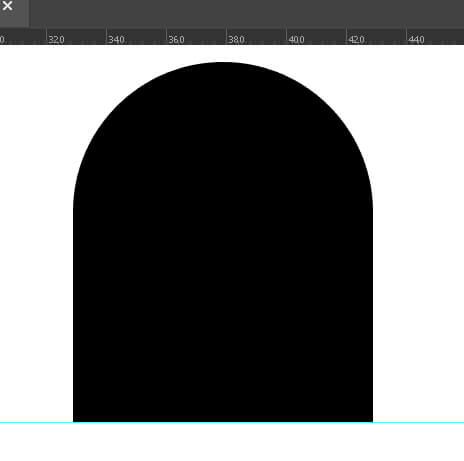
- To round the corners of a shape, while the anchor points are still selected, click and drag one of the corner handles (the blue dots inside the corners of the shape).

- If not Turn on rulers with CTRL + R
- Go inside of the top ruler. Drag a guide from the ruler and drop it to the bottom corner of the rectangle.
- Pick up Direct Selection tool (A)
- Select the Guide and
- Reposition it by typing – 30 in the Y value at the Anchor point control panel
- Hit Ok. This will place the guide 30 px up from the bottom of the rectangle

- Now pick up the selection tool (v) and select only the black shape
- Goto to Tools panel and long click the pen icon to pick up add anchor point tool
- Add two extra anchor points to the path of the shape at the intersections of the guide.
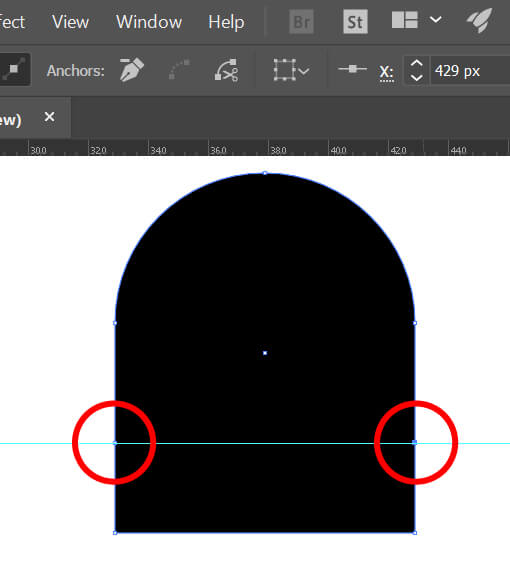
- You can delete the guide at this point. you do not need it anymore.
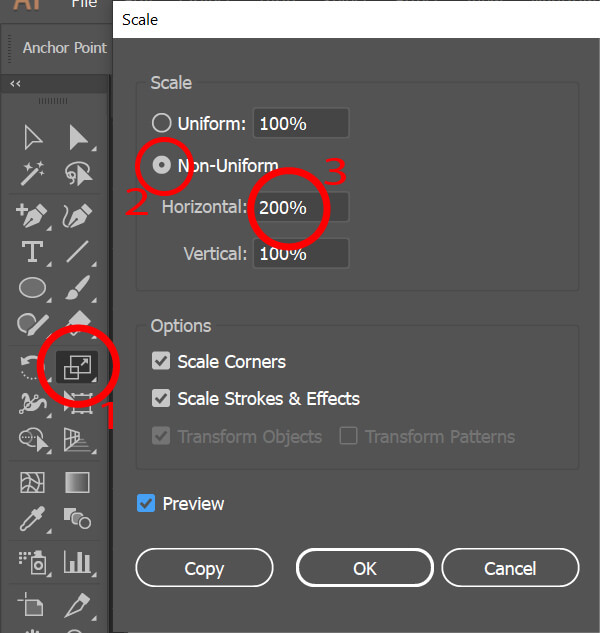
- Pick up two anchor points at the bottom of the shape using Direct selection tool (A)
- Go to the Tools panel and double-click Scale Tool (1)
- Select non-uniform (2) in the dialog box and
- Type 200% for the horizontal value (3)
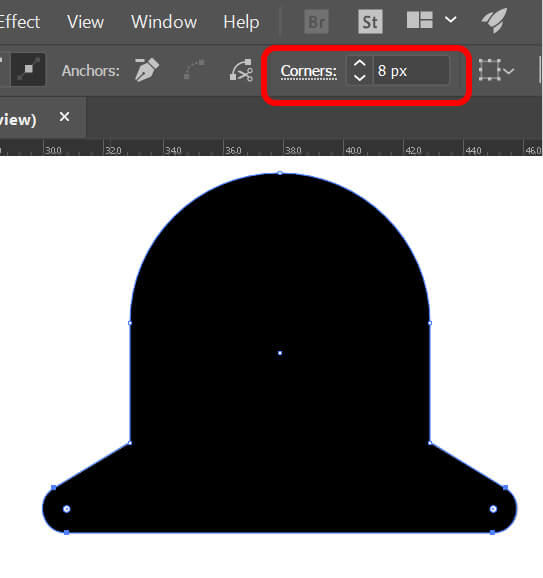
- While bottom anchor points selected give the 8 px for corners value
- It is time to select two extra anchor points that we have just created, using Direct Selection Tool (A)
- Goto control panel and Give the corner round value as 30 px
We have creted the outer shape of the bell now.
Step 4: Create handle and Clapper
You can use different shapes for the handle and Clapper. I will keep it simple and draw two circles for handle and clapper. The final shape would look like this:
The bell icon here is in PNG file format. you can download it for free and use it in your projects if you like.
If you still want more information about how to draw the bell icon, you can watch my youtube video below. Please do not forget to subscribe to my youtube channel. Thanks for being here,
Akif Kutlu
